Ceiling Leak Water Damage in Culver City
A ceiling stain marks where water became visible, not necessarily where it entered. Overhead cleanup starts by protecting the room below, locating the source and checking the wet materials above the damaged finish.
(888) 578-6508Discuss the overhead wet area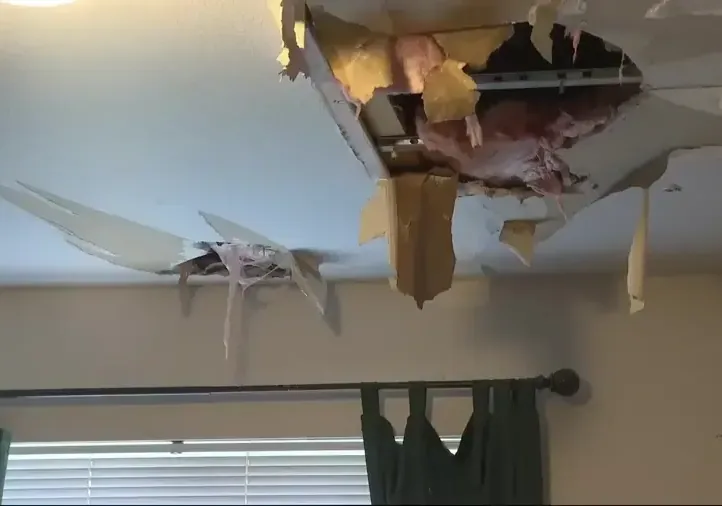
First steps for ceiling leak water damage
- Clear the fall area. Keep occupants outside the footprint of any sagging or softened ceiling. Do not place a ladder beneath the damaged section to inspect the stain at close range.
- Describe the timing. Report whether dripping follows rain, plumbing use or cooling operation. Include any recent source repair so the inspection can distinguish continued leakage from trapped residual water.
- Avoid wet electrical fixtures. Leave affected lights and switches untouched. Electrical safety needs to be established before ceiling access or removal begins near wiring and fixtures exposed to the leak.
- Photograph from safe ground. Capture the stain, surrounding ceiling and upper walls from a dry location. The broader view helps explain how the damage relates to the room below and above.
What does ceiling leak water damage cost in Culver City, CA?
Ceiling leak water damage cleanup in Culver City has planning ranges from $900 to $4,800. Overhead access, wet insulation and wall involvement shape the estimate. Source repairs and decorative ceiling reconstruction should be separated from removal and drying in the scope.
For a closer planning number, run the water damage cost calculator. The restoration contractor who responds prices the job after the walkthrough and the moisture map.
How ceiling leak water damage proceeds
- Step 1
Set the protected footprint
The room beneath the affected ceiling is assessed for falling material and electrical exposure. Safe access determines where inspection and contents movement can proceed.
- Step 2
Trace moisture above
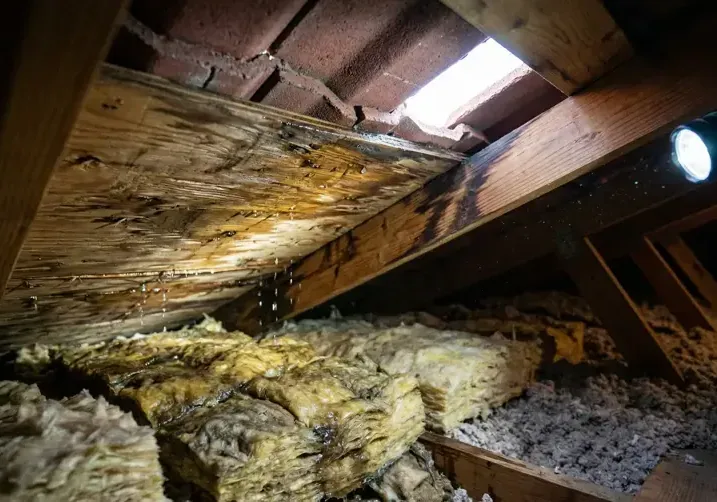
The crew checks the cavity and source relationship. Moisture patterns help determine whether water followed framing, collected in insulation or spread toward an adjoining wall.
- Step 3
Remove obstructive damage
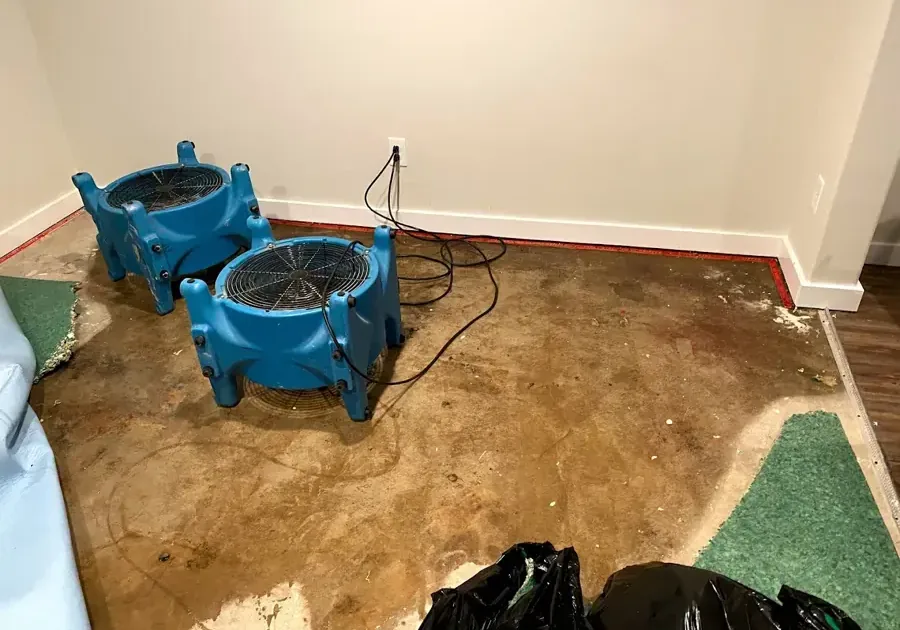
Unstable or unsuitable finishes are removed under controlled conditions. Remaining materials receive a drying plan with access suited to the overhead assembly and affected edges.
- Step 4
Measure before patching
Repeat readings document progress in framing and connected surfaces. The repair handoff identifies remaining openings and any source or electrical work needed before ceiling reconstruction.
Drips reaching a room in Downtown Culver City may have traveled along framing before staining the ceiling. The inspection needs access above the finish as well as a clear view below it. Painting the mark leaves the source and wet cavity unresolved, even when the dripping has paused.
Protect the space beneath the damage
A softened panel can lose strength under absorbed water. Keep furnishings and people away from its footprint when movement can be managed safely. Electrical fixtures near the stain require qualified assessment before anyone touches a switch, removes a cover or handles a wet lamp.
For a property in McLaughlin or Jefferson, describe the room above, any recent plumbing activity and when the mark changes. These observations help direct the inspection toward the actual entry. A stain that expands during appliance use needs a different source investigation from one that changes during rain.
Expose the assembly with a purpose
Selective ceiling removal can provide access to saturated insulation and framing. The opening should follow the damage and the access needed for drying, with nearby walls checked where water has moved downward. Each removed section should have a clear reason in the scope.
- Document sagging and discoloration from outside the unstable ceiling footprint.
- Check upper wall edges where moisture may leave the cavity.
- Inspect insulation contacting wet framing before deciding what can remain.
- Record any fixture affected by water for appropriate electrical assessment.
Resolve the source before closing overhead
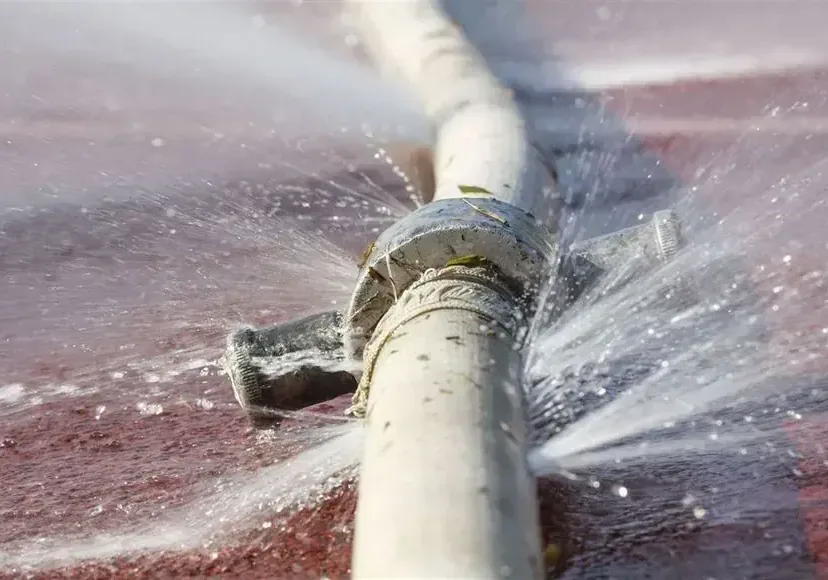
If a supply connection caused the problem, pipe discharge cleanup connects the repair with the released water. Rain entry belongs with a separate roof leak assessment.
After source repair, readings track the condition of exposed materials. Replacement wallboard, texture and paint should follow a documented drying endpoint. Keeping those stages distinct helps avoid covering a cavity that still holds moisture above a freshly finished room.
Ceiling leak water damage around Culver City
Overhead damage assessments include properties in Downtown Culver City, McLaughlin and Jefferson. Note the affected level, room above and any unstable ceiling sections so access can be planned around the condition of the occupied space below.
The same service nearby: ceiling leak water damage in Tarzana, Beverly Hills, West Hollywood.
Water damage restoration in Culver City · every town covered
Related water damage services in Culver City
Ceiling Leak Water Damage questions in Culver City, CA
Can a dry stain still need attention?
A stain can remain after surface moisture evaporates while material above it stays damp. An inspection checks the source and cavity condition rather than using the color of the ceiling alone to decide.
Should a bulge be drained with a pin?
An unplanned puncture can release water and damaged material onto the person below. Keep the area clear and arrange controlled access that accounts for the ceiling condition, electrical hazards and trapped water.
Why check walls beside a ceiling leak?
Water can run down framing or follow the wall connection after collecting overhead. Upper wall readings help identify that path so the repair does not address the ceiling while leaving an adjoining surface wet.
Is every ceiling leak caused by the roof?
No. Plumbing, equipment drainage and an upper level spill can also wet a ceiling. Timing, source inspection and the actual cavity conditions help determine which repair needs to happen before the space is enclosed.
Can insulation dry inside the closed ceiling?
Retention depends on material condition, contamination and drying access. Saturated insulation may obstruct effective drying or become unsuitable to keep, requiring removal so the framing and connected surfaces can be reached and checked.
When is painting appropriate after cleanup?
Painting follows source correction, removal of unsuitable material and satisfactory drying checks. Cosmetic work should be the final stage, after the repaired ceiling assembly is ready to receive texture, primer and its finish coat.
Resolve the space above the stain
A useful ceiling scope connects source control, safe removal and measurable drying. Arrange the assessment before patching conceals the wet assembly or damage spreads into adjoining walls.
(888) 578-6508Plan safe overhead cleanupTarzana Water Damage Restoration
Tarzana, CA and Los Angeles County
(888) 578-6508 · open 24/7
Water and sewage losses only
Find us on Google